
DIY Guide: How to Replace Faucet Valve Seats
Did you realize a dripping faucet can squander more than 3,000 gallons yearly? That volume could fill a kiddie pool! Fixing worn-out components saves money and conserves water—no plumbing experience needed.
We’ve simplified the repair process. With the right tools and parts from Installation Parts Supply, you’ll stop leaks fast. Avoid expensive service calls and live leak-free with faucet seat replacement.
Use our detailed steps for a hassle-free repair. Top-grade parts deliver durability and boost your DIY confidence.
Key Takeaways
- Leaks waste water and increase bills—quick fixes prevent damage.
- Tackling it yourself cuts out plumber fees.
- High-quality parts from trusted suppliers improve durability.
- Simple tools and clear steps make the process beginner-friendly.
- Routine care prolongs fixture lifespan.
The Importance of Replacing Faucet Valve Seats
One small drip can quickly turn into a costly problem. Worn components in your plumbing waste water, hike up bills, and risk damage to your home. Fixing issues early saves money and keeps your fixtures running smoothly.
Detecting a Worn Valve Seat
Look out for:
- Persistent drips even with the faucet off.
- Variable water pressure and uneven spurts.
- Corrosion spots or pitting on metal.
For example, a kitchen leak disrupts cooking and stains sinks. Timely action prevents bigger headaches.
How Damage Leads to Leaks
Mineral deposits and constant friction wear down parts over time. Microscopic cracks let water leak through. Unchecked wear on the valve seat may wreck the faucet.
Trust Installation Parts Supply for durable replacements. Installation Parts Supply parts combat deposits and hold tight.
Quick leaking faucet repair protects your home and conserves water—up to 3,000 gallons yearly!
Tools and Parts You’ll Need for the Job
Good tools plus quality parts deliver lasting repairs. From minor drips to stubborn leaks, proper gear speeds the job. Collect the following tools and parts:
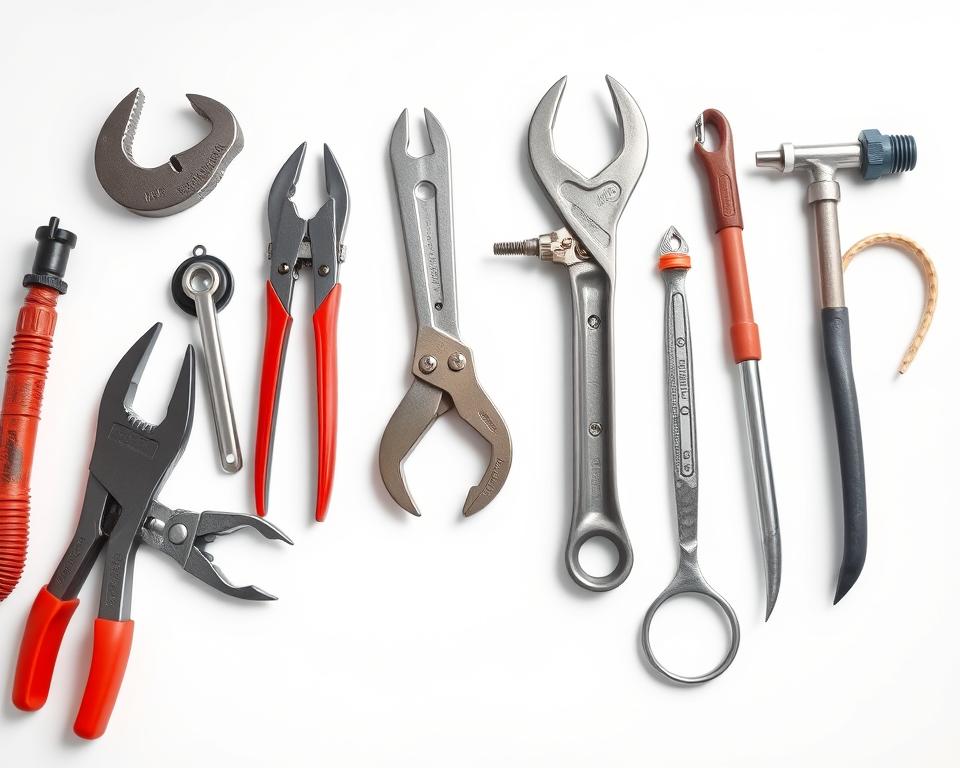
Essential Tools
Essential plumbing tools:
- Adjustable wrench: Loosens nuts and bolts.
- Seat extractor wrench—to pull old seats.
- Screwdriver set—to remove handles and screws.
- Pliers—to hold and remove pins.
A grinding tool helps smooth out rough seats. A faucet repair kit with seats, washers, and O-rings covers most replacements.
Buying Parts
Don’t settle for disposable components. Count on Installation Parts Supply for reliable nationwide shipping. Their kits include everything for a tight seal, backed by expert support.
| Must-Haves | Extras |
|---|---|
| Adjustable spanner | Seat grinding tool |
| Valve-seat remover | Torch (for stubborn parts) |
| Faucet repair kit | Pipe cutter |
Spending on quality gear is worth it. You’ll dodge future leaks and live leak-free.
Valve Seat Replacement Steps
End water waste with this easy DIY repair anyone can do. No matter your skill level, follow these for success. Grab your gear and begin.
Step 1: Cut Water & Take Apart
Shut off water by turning the supply valves clockwise. Open the handle to drain remaining water. Remove the handle screws, then back out the retaining nut with your wrench.
Pro Tip: Label parts with tape to simplify reassembly. Consider Installation Parts Supply’s rust-resistant nuts for longevity.
Step 2: Extract the Worn Seat
Inspect the assembly for corrosion. Use the seat wrench to back out the damaged seat. If stuck, spray penetrating oil and let it soak for 10 minutes.
| Common Challenges | Fixes |
|---|---|
| Seized seat | Use heat (carefully) or a locking plier |
| Stripped threads | Swap out the housing assembly |
Step 3: Install the New Valve Seat
Wire-brush the hole to clear corrosion. Align the new seat (*replace valve seat* from *Installation Parts Supply*) and hand-tighten first. Tighten carefully to avoid stripping.
Step 4: Reassemble and Test for Leaks
Put everything back together in reverse. Restore water flow slowly. Check for drips—if leaks persist, tighten connections incrementally. Nailing this DIY faucet repair keeps your bills low!
Final Thoughts
Your home deserves hassle-free plumbing that stands the test of time. Addressing issues promptly conserves water and money.
Follow these directions and you’ll succeed on your first try. Count on Installation Parts Supply for parts that withstand wear.
Keep your faucet in top shape by checking washers each year and snugging handles. Small efforts now avoid big repairs later.
Time to get started—collect your tools and banish drips for good.